Choosing in which language a company page is published is done either from the companies module by an admin via the back-office or directly by the company from their account.
As a reminder, the main language is the website display language and the default language for content to be shown whereas the secondary language adds the possibility for users to view content in additional languages. Adding a secondary language means you see content in the Jobs, Events, Companies, Resources modules in various languages. This means that students who have a language selected as either their main display language or as a secondary language will be able to see this content.
Managing company pages via the Back-Office
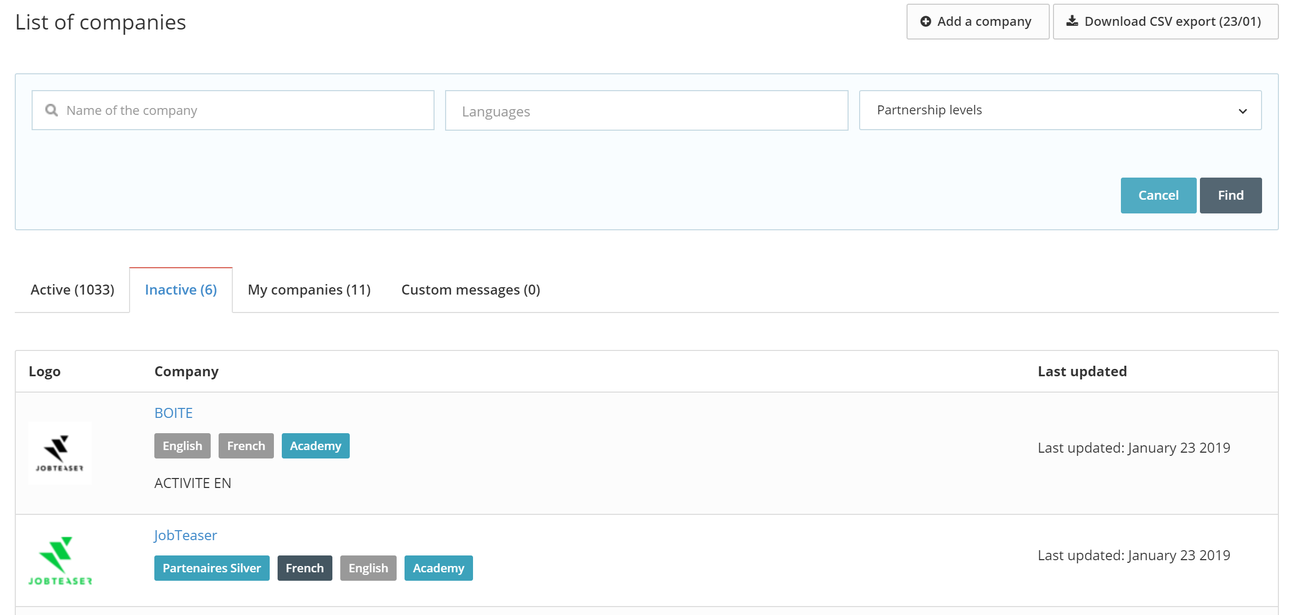
Via the dashboard of the Companies module you visualize in which languages the company pages are activated, visible for the students. When the language is indicated in grey the company page is inactive, when it is in dark blue the company page is active.
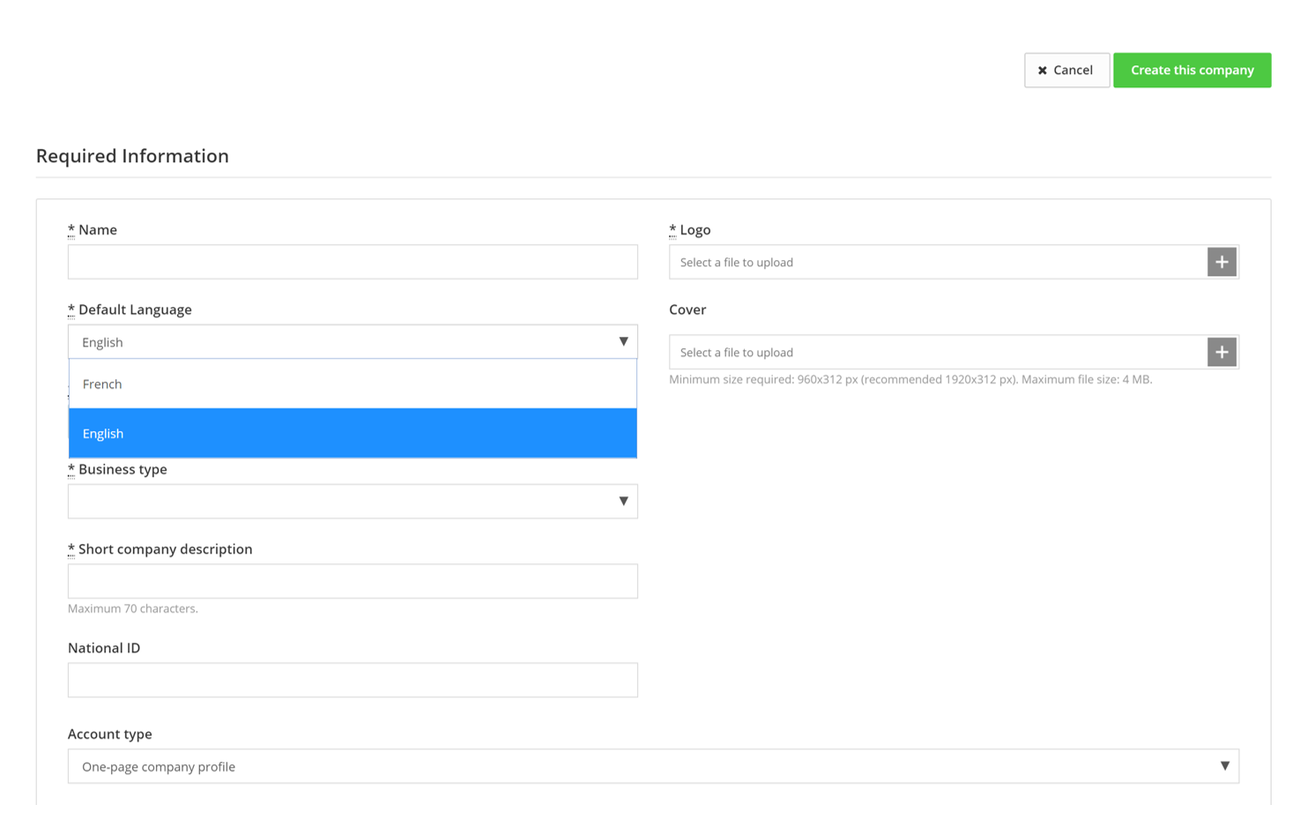
When you add a company page - as an admin - a field allows you to choose the default language of the company page. The languages suggested are the ones activated for your Career Center (for any question regarding this configuration, feel free to ask your JobTeaser contact).
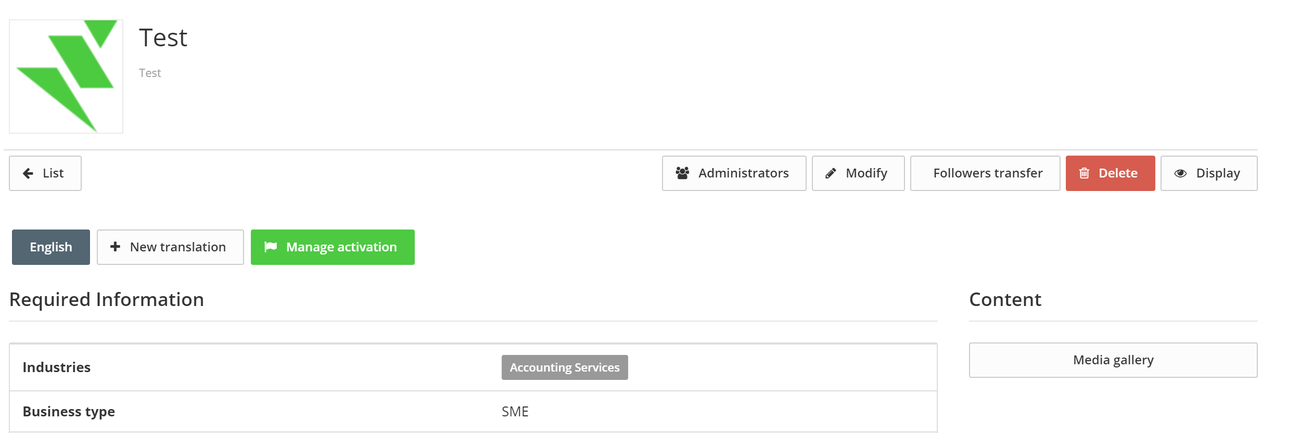
To create the company page in another language, click on "New translation".
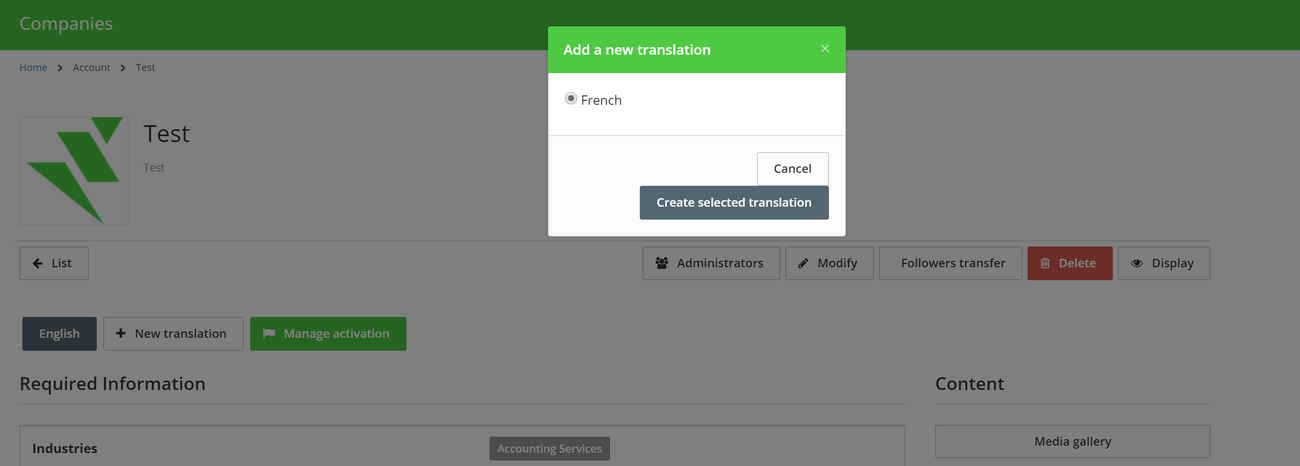
Select the language and click on "Create selected translation".
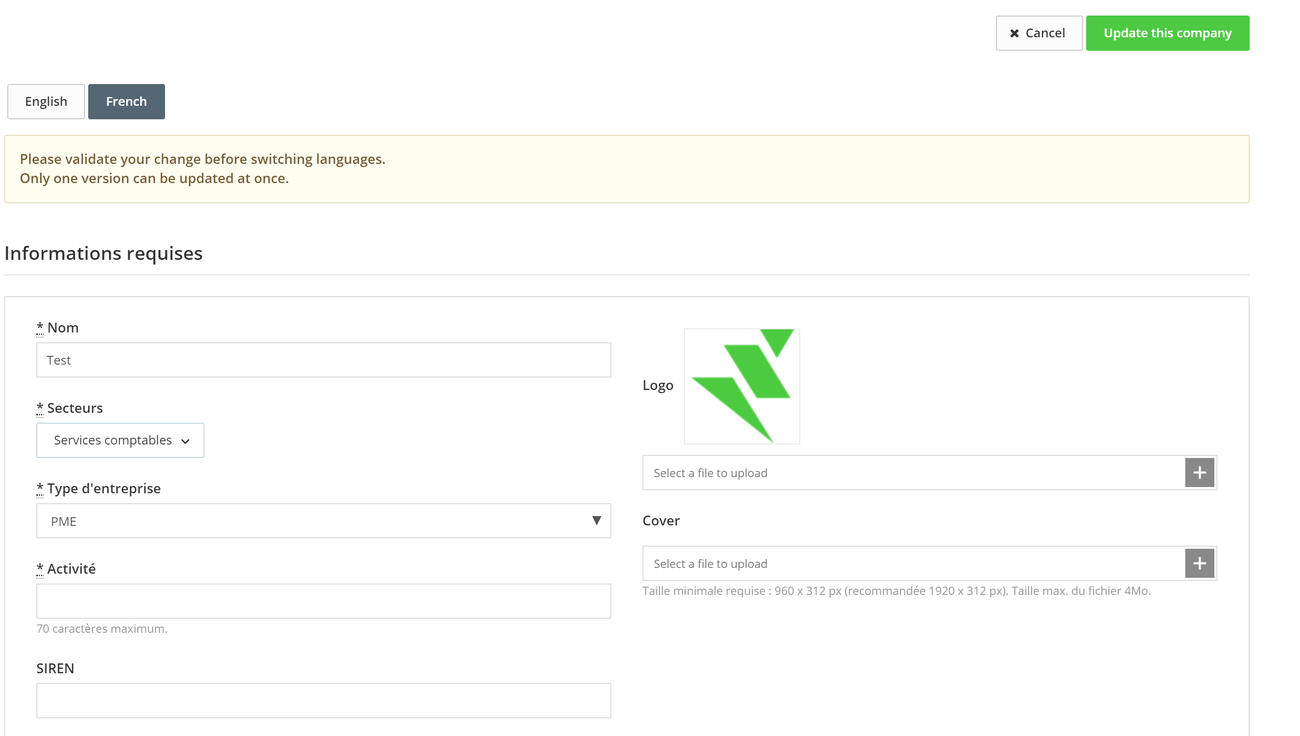
You now need to translate the info of the company page in the selected language, then click on "Update this company".

Once the page has been created in the selected languages, you need to activate the page for those languages, meaning make it visible for students with this language as their main language. To do so, click on "Manage activation".
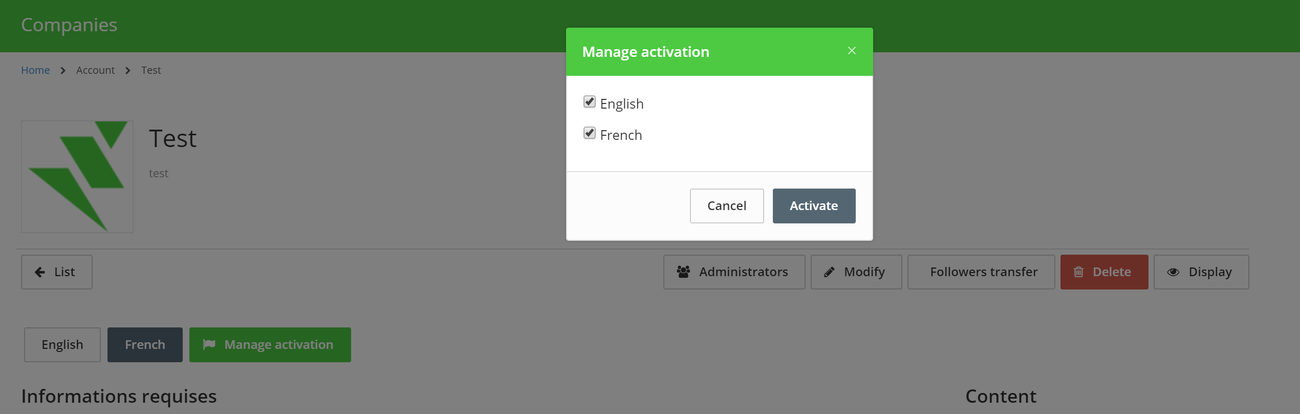
Select the languages to activate then click on "Activate". The company page is visible to students for the languages activated.
To disable a company page for one of those languages, click on "Manage activation", unselect the desired language and click on "Activate".
Managing company pages via a company account
This is done in exactly the same as for a back-office admin, it is just how they access this page which is different.
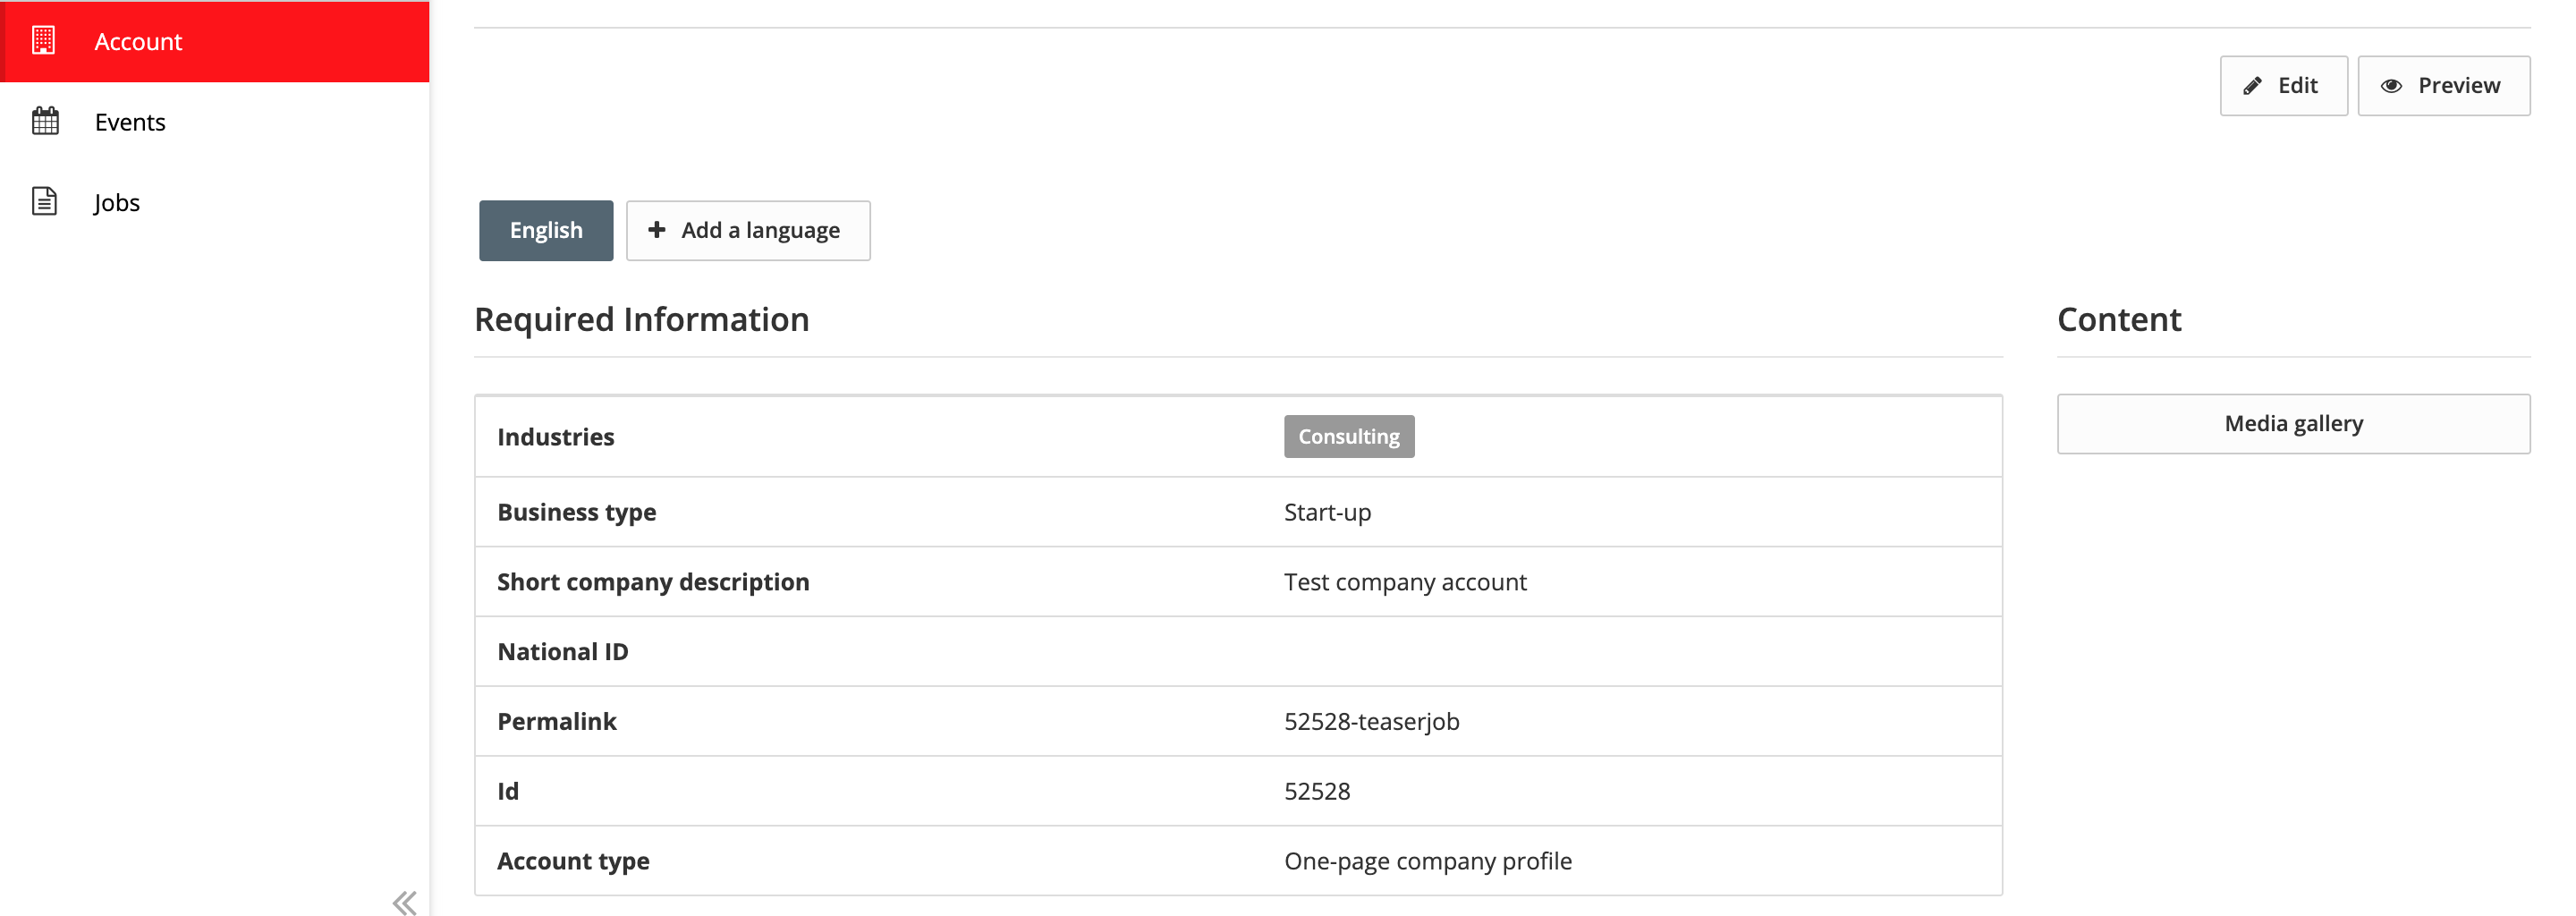
Once the company admin is connected, they go to the Account section, where they see the below screen.
From here they can follow the same steps as above by clicking on "add a new language" to add a second language for the first time.